
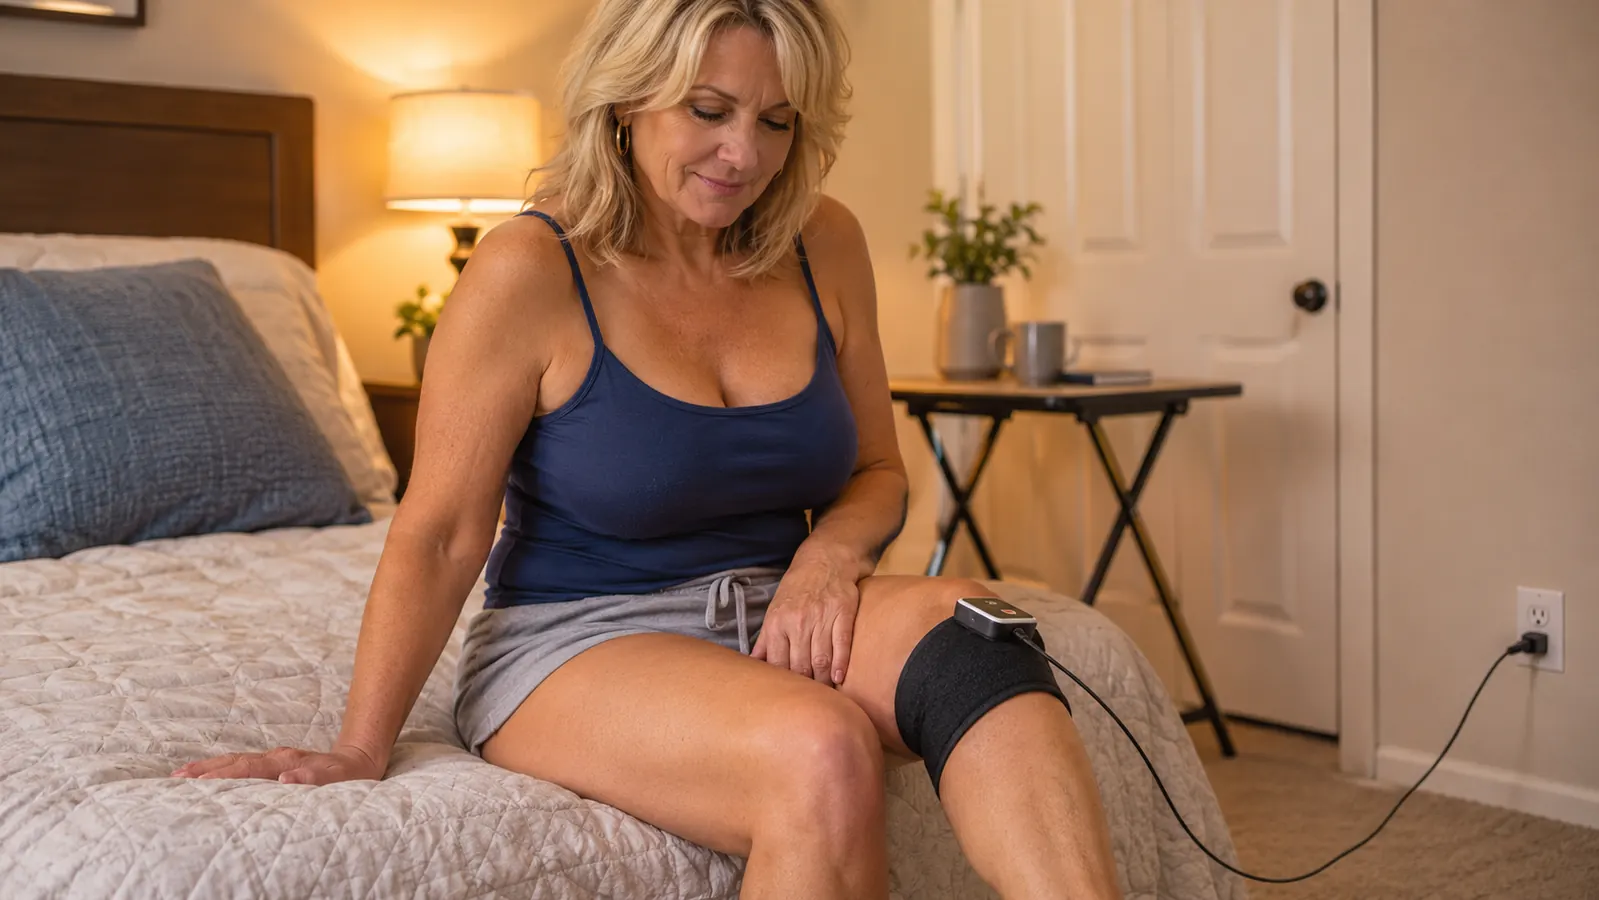
My knees started complaining two summers ago, on the downhill stretch of a Boise foothills trail I have walked since I was forty. Nothing dramatic. Just stiffness that showed up after a hike and hung around for a day, then two. My lower back joined in last spring after an afternoon of pulling weeds, and by winter I was noticing both every time I stood up from the couch.
I am not a gadget person. Thirty years as a dental hygienist taught me to read the instructions twice and to be suspicious of anything promising the moon. But a friend at the pool mentioned she had been using a red light belt at home, and my dermatologist said it was fine to try as long as I protected my eyes. So I bought a Comfytemp belt, the corded one with 126 lamp beads, and set it up in the spare bedroom on the folding table by the closet. Two months in, it is still there and not in a drawer. Here is exactly how I use it, including the two things I got wrong in the first week.
The belt that made it out of my closet and onto my weekly routine
Corded, 126 lamp beads, four modes and three levels, about a pound and a half so it stays where you wrap it. See what the current listing says before you decide.
Amazon See the Comfytemp Belt on Amazon →How I Use It, Start to Finish
Step 1: Set It Up Where You Will Actually Sit
The belt is corded, so the outlet picks your spot before you do. There is no battery to charge and no wandering into the kitchen mid-session. For me that is the spare bedroom, a chair pulled up to the folding table, cord running along the baseboard where Dan will not catch a foot on it. Find that spot once and leave the setup alone. A device you have to assemble every evening is a device that ends up in a drawer by February.
Unpack it and read the little manual twice. I did. The Comfytemp belt weighs about a pound and a half, which matters more than it sounds, because a heavy wrap slides down your leg the moment you relax. This one stays where I put it. It arrived in a box about ten inches long and there is not much to it, which I took as a good sign. Press the buttons once before you wrap it around anything, just to feel how they work, then lay it flat on the table with the cord hanging loose so it does not tug at you while you sit.
Time your sessions on your phone, face up on the table where you can read the numbers without leaning over. I set ten minutes before I start. If I leave the timing to feel, I get distracted and it turns into twenty-five minutes of me scrolling and forgetting why I am sitting there in the first place.
Step 2: Eyes First, Then Skin
Goggles on before you press anything. The light is bright enough that you will shut your eyes reflexively the first time, and squinting through a session is not the point of a session. I keep a pair on the table beside the belt and put them on before I even plug the cord in. Order matters here. Eyes first, then power.
Use it on clean, dry skin. No lotion, no oil, nothing left over from the shower. I learned that the ordinary way, by doing it wrong and feeling the wrap go slick against my knee. If you have self-tanner on, skip the night. If you take a medication that makes your skin sensitive to light, ask your pharmacist before the first session, not after the fifth.
And give yourself a reason to stay put. You are tethered to a wall. I keep a glass of water on the table and not much else, because a phone in my hand turns ten minutes into twenty. That sounds small. It ended up being the difference between a routine that stuck and one that quietly stopped happening.
Step 3: Wrap It So the Light Sits Against the Joint
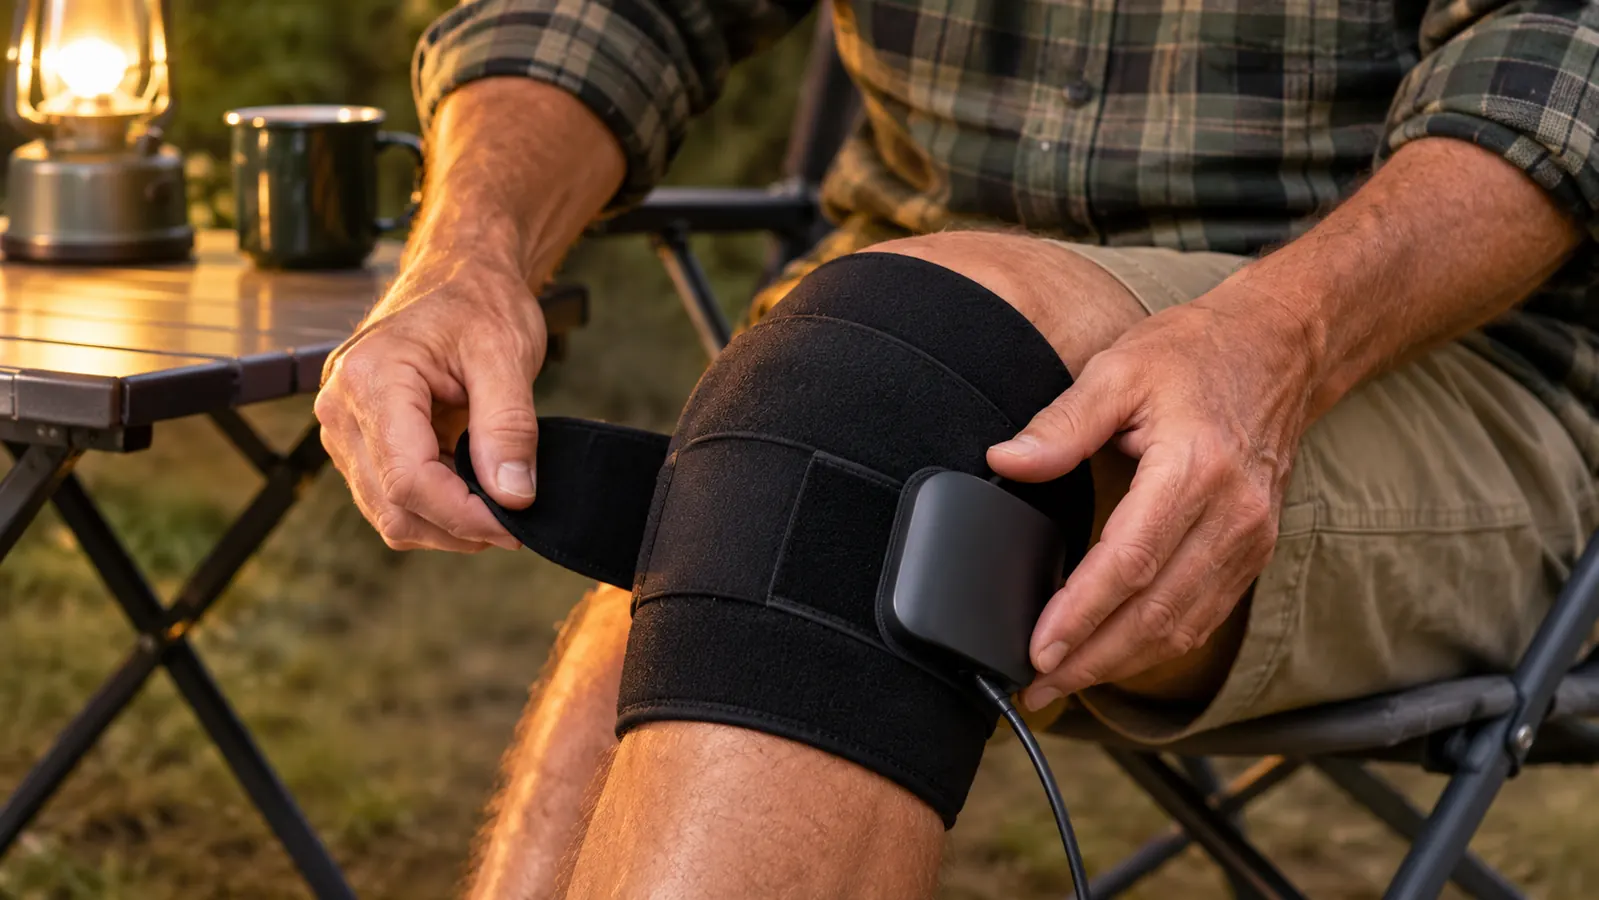
For a knee, wrap above the joint and below it so the middle of the belt lands right over the kneecap. Snug, not tight. If you can slide two fingers under the edge, you are about right. Work out where the buttons end up before you commit, because you want them reachable without unwrapping everything. Mine land on the outside of my thigh, which is easy to find by feel.
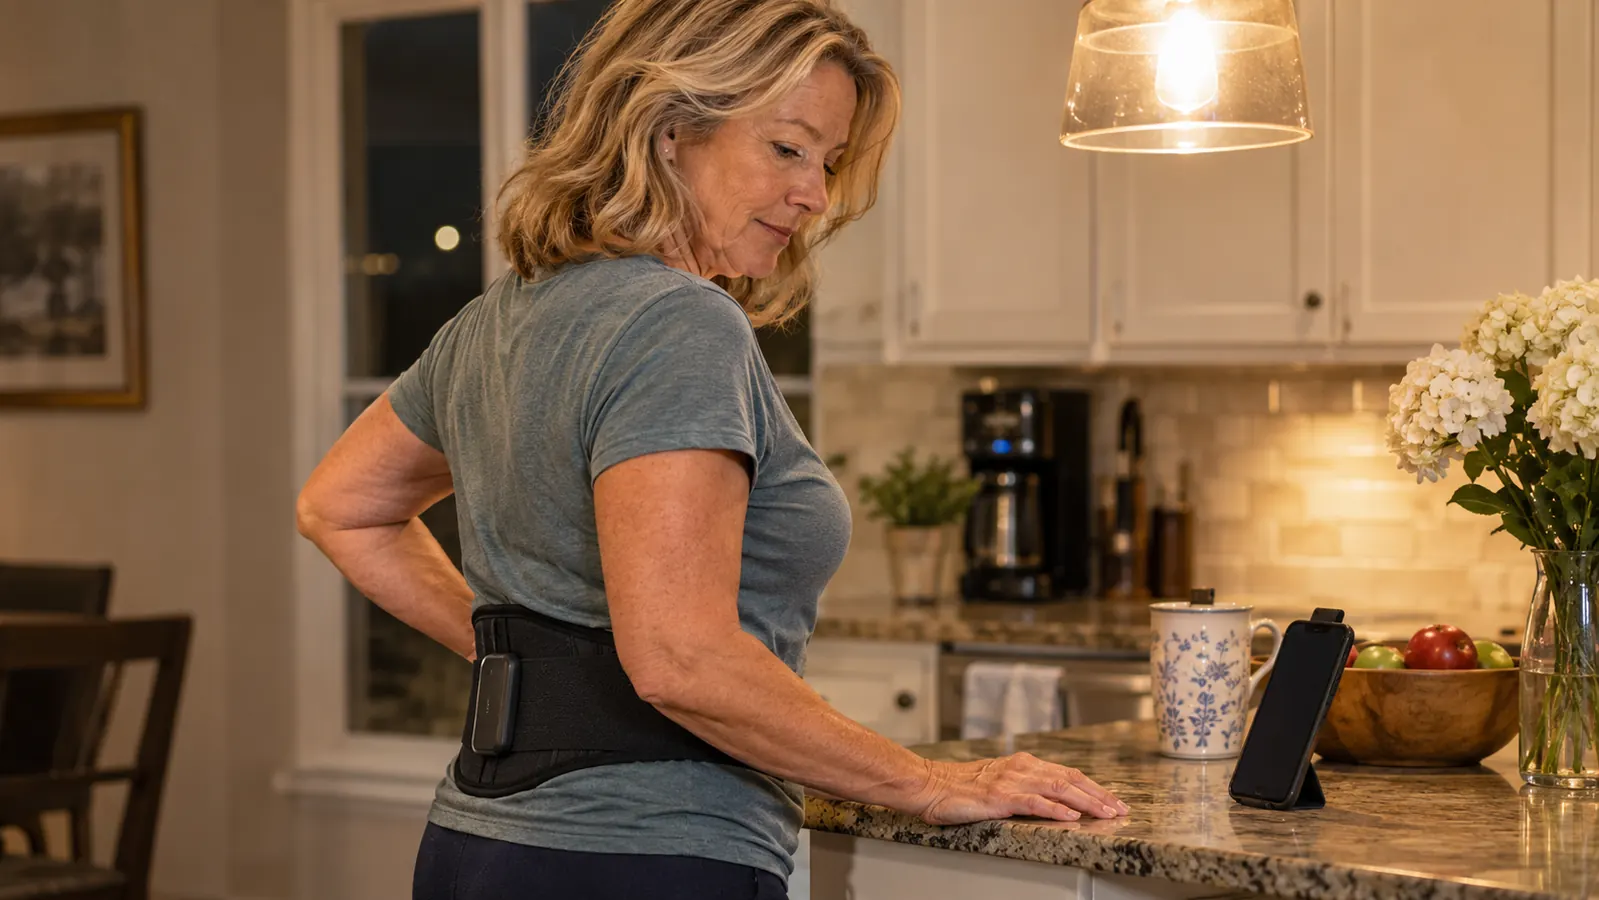
For the lower back, the wrap goes around the waist with the light side in, sitting just below the waistband. I do that one standing and then sit down slowly, because sitting changes the fit. Wrap for the position you will actually be in. That was my second mistake in week one, wrapping it standing and then discovering the whole thing had ridden up the moment I settled into the chair.
One more placement note. If you are wrapping a knee, sit down first and bend it slightly, the way it is bent when you are on the couch. A belt wrapped over a straight leg will feel wrong the second you bend it, and you will spend the session tugging instead of resting. Two minutes of getting this right saves you ten minutes of fidgeting.
If a joint is swollen, hot to the touch, or gives way when you put weight on it, that is not a wrapping problem. That is a call to your doctor. The belt is not going to sort out a knee that needs a real look, and no amount of adjusting the strap changes that.
The belt weighs about a pound and a half, so it stays where I wrap it. That one detail is the reason it is still on my table and not in the closet.
Step 4: Start Low and Keep It Short
The Comfytemp belt has four modes and three levels, and you switch both with the buttons on the belt itself. That is the whole control panel, which suits me fine. I started on the lowest level for ten minutes and stayed there for two straight weeks. There is no prize for turning it up on day one. Give your skin two or three sessions to tell you how it feels about this before you change anything.
Ten minutes is my number. Some evenings I go twelve. I have never gone past fifteen, because the goal is a habit I will keep, not a session I have to talk myself into. If your skin feels hot in a way that is uncomfortable rather than warm, stop, unplug, and give it a day off. Warm is fine. Hot and prickly is your cue to quit for the night.
Most days of the week, usually after dinner while Dan watches a show I have no interest in. Consistency beat intensity for me by a wide margin. One short session most evenings did more for how my knees felt on the stairs than two long sessions crammed into a weekend ever did.
Step 5: Keep a Note and Know Your Stopping Points
I write one line in a notebook after each session. Date, which joint, which mode and level, how long, and one word for how I felt walking to the kitchen afterward. That is the whole system. Four weeks of those lines will tell you more about your own body than any review you read online, mine included.
Know your stopping points before you need them. If your skin looks irritated or feels tender the next morning, take several days off. If something gets worse instead of better, that is a conversation with your doctor, not a reason to try a higher level. I am describing my routine and how it felt to me. Nobody, including me, can tell you what your knees will do.
One last thing about the buttons. They are easy to bump when you shift position, and there is nothing more confusing than looking down at minute ten and realizing you changed the mode somewhere around minute four. Glance at the belt when you sit down and again when you finish. Dan borrowed it for his shoulder once without reading anything and wrapped it far too tight. He survived. The manual has not forgiven him.
What Else Helps
The belt is one piece of a routine, and the rest of it costs nothing. Walking every morning helps my knees more than anything I plug in, and twenty flat minutes on the greenbelt does the job on days when the foothills are too much. I stretch my calves against the kitchen counter while the coffee brews. I put a cushion on the chair I sit in most, because a hard seat all afternoon undoes a good evening session.
Heat, if you like heat. I sometimes rest a warm rice bag on my knee for five minutes while I set up, mostly because it feels good and it makes the sitting still easier. Sleep matters too. I am 57 and I have finally stopped arguing with that one.
And protect your skin the boring way. A hat, sunscreen, and shade do more than any at-home device will, and they cost less. If part of your reason for using the belt is skin, that is the order I would put things in, with the hat first and the device a distant second.
What I Wish I Had Known in Week One
Nobody tells you that the cord is the whole personality of this thing. A corded belt never needs charging and never dies halfway through, but it also means you are sitting in one place for ten minutes. If you want to use it while you answer email at a desk, that works fine. If you were picturing yourself walking around the block with it on, that is not this.
Second, the strap position matters more than the level. I spent a whole week fiddling with modes when the real problem was that the wrap had drifted half an inch off my kneecap and was lighting up the side of my leg instead. Check placement before you touch a button.
Third, this is a small, quiet thing. The Comfytemp belt is not a treatment and it is not a cure, and I would be uncomfortable with anyone telling you otherwise. What it is, for me, is ten minutes of sitting still in the evening with a warm wrap on a tired knee, most days of the week, for a few months now. That has been worth it to me. I would not have bought it expecting a transformation, and I would have been disappointed if I had.
When to Talk to Your Doctor First
Before your first session, call your doctor or dermatologist if you are pregnant, if you have a history of skin cancer, if you take medication that causes light sensitivity, which includes some antibiotics and some acne treatments, or if you have a condition that affects feeling in your skin. Photosensitivity is a real thing and it is not worth guessing about.
Also call if a joint is hot, swollen, or unstable, if you have numbness in your feet or legs, or if anything in your back comes with weakness or tingling that runs down a leg. Those are not wellness-device problems, and no amount of evening sessions fixes them. I am one woman with one spare bedroom and one notebook. Your situation may be different, and your doctor knows it better than I do.
If your knees complain on the downhill, start here
Corded, 126 lamp beads, four modes and three levels, buttons on the belt. Start on the low level, keep it to ten minutes, and check the listing for exactly what comes in the box.
Amazon Check Current Details on Amazon →